Master Swimbait Rigging Methods: The Ultimate Guide
Ever wondered why some anglers consistently land monster bass on swimbaits while others just get follows? The secret often lies not in the lure itself, but in the meticulous art and science of its presentation. Mastering the various swimbait rigging methods is the single most important factor that separates occasional luck from repeatable success. This guide is your definitive roadmap, designed to demystify the process and equip you with the knowledge to turn those curious followers into committed biters. We will cover everything from foundational techniques to advanced strategies, ensuring your swimbait always swims perfectly and effectively.
Whether you’re throwing a 3-inch paddle tail or an 8-inch glide bait, the right setup is paramount. Understanding how to match your lure with the correct hook, weight, and leader can dramatically increase your hook-up ratio and allow you to present the bait flawlessly in any condition. This comprehensive resource breaks down essential swimbait rigging basics, explores sophisticated setups, and provides actionable tips to elevate your angling game. Get ready to transform your swimbait fishing from a game of chance into a calculated pursuit of trophy fish.
Table of Contents
- What is swimbait rigging methods?
- Key Benefits and Importance
- Complete Step-by-Step Guide
- Expert Tips & Best Practices
- Common Mistakes to Avoid
- Advanced Strategies for 2024/2025
- Essential Tools & Resources
- Frequently Asked Questions
What is swimbait rigging methods?
Swimbait rigging methods refer to the specific techniques used to attach a hook, and often a weight, to a soft or hard-bodied swimbait to optimize its action, presentation, and hooking potential. This process is far more than just putting a hook in a piece of plastic; it’s about creating a lifelike and effective lure system. Proper rigging ensures the bait swims naturally, runs true at the desired depth, and remains weedless or exposed as the situation demands.
A deep understanding of these methods is the cornerstone of effective swimbait fishing. This swimbait rigging guide will explore the various components that make up successful swimbait rig setups, including the selection of appropriate swimbait hooks and swimbait weights. From understanding swimbait rigging basics to executing advanced swimbait rigging techniques, every choice impacts your results. The right swimbait tackle, including specific swimbait leaders, ensures your lure performs flawlessly, making these swimbait rigging methods a critical skill for any serious angler.
Key Components
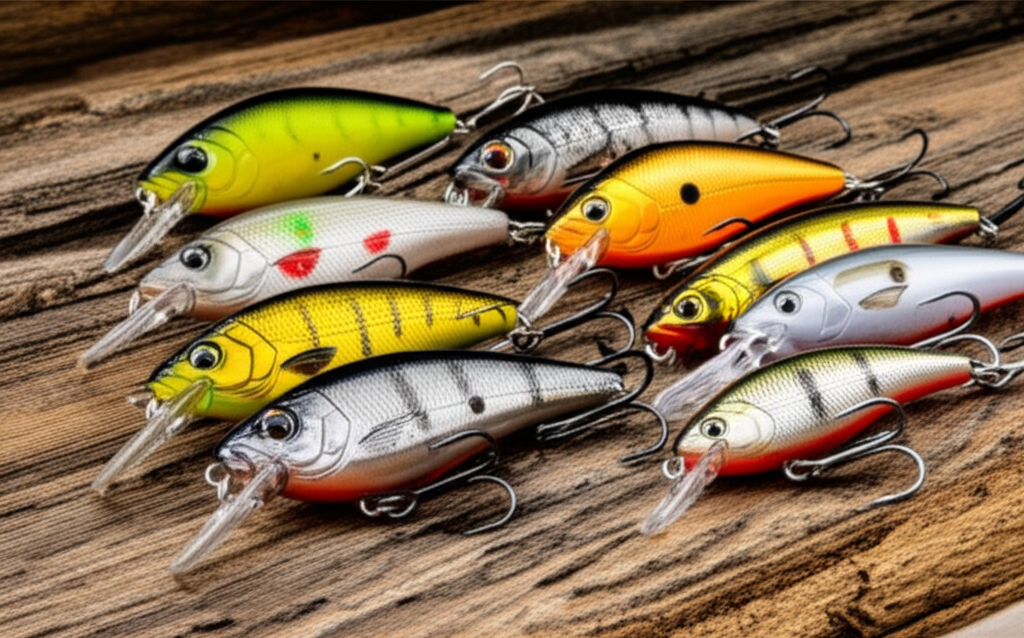
- Swimbait Body: The lure itself, which can be a soft plastic paddle tail, a multi-jointed hard bait, or a glide bait. The body’s design dictates its inherent action.
- Swimbait Hooks: The critical connection to the fish. This includes weighted hooks, extra-wide gap (EWG) hooks, jig heads, and treble hooks, each serving a distinct purpose in different swimbait rig setups.
- Swimbait Weights: These can be internal, external (like belly weights), or part of the hook/jig head. They control the bait’s depth, fall rate, and casting distance.
- Connection Hardware & Leaders: This includes split rings, snaps, and swimbait leaders (fluorocarbon or monofilament). This hardware ensures a secure connection and can protect your line from abrasion.
Why swimbait rigging methods Matters: Key Benefits
Properly executing swimbait rigging methods can increase your catch rate by over 50% in many scenarios. It’s the difference between a lure that looks like a struggling baitfish and one that spins unnaturally, spooking predators. The primary goal is to maximize the lure’s realism and efficiency, which leads to several tangible benefits on the water.
Enhanced Lure Action and Realism
The number one benefit is achieving a natural, enticing swimming action. For example, rigging a paddle tail swimbait perfectly straight on a weighted EWG hook allows it to kick and roll subtly, mimicking a real shad. If it’s rigged even slightly crooked, it will spin or helicopter on the retrieve, killing its effectiveness. Proper swimbait rigging methods ensure every twitch of the rod tip and turn of the reel handle translates into a lifelike movement that triggers a predatory response.
Improved Hook-Up and Landing Ratios
A well-rigged swimbait ensures optimal hook point exposure at the moment of a strike. When using a weedless setup, the hook must be able to pop out of the plastic and penetrate the fish’s mouth with minimal force. Using the correct size and style of swimbait hooks for a specific lure body is a crucial part of these swimbait rigging techniques. This leads to more solid hooksets and, consequently, more fish in the boat.
“The rig is the engine of the swimbait. You can have the best-looking lure in the world, but if it’s rigged wrong, it’s just a piece of plastic. Get the rigging right, and it comes alive.”
Complete Guide to swimbait rigging methods – Step-by-Step
This section provides a practical, step-by-step approach to three of the most effective and popular swimbait rigging methods. Mastering these will give you a versatile arsenal for tackling various conditions and depths. This is a fundamental part of any swimbait rigging guide.
Step 1: The Weedless Texas Rig with a Weighted EWG Hook
This is arguably the most versatile of all swimbait rig setups, perfect for fishing through grass, wood, and other heavy covers.
- Select Your Gear: Choose a soft plastic paddle tail swimbait (3-5 inches is common), a weighted EWG (Extra Wide Gap) swimbait hook matching the bait’s size, and your preferred line. The hook weight will determine your running depth.
- Rigging the Bait: Insert the hook point into the center of the swimbait’s nose for about 1/4 inch. Bring the point out the bottom of the bait. Slide the swimbait up the hook shank and over the keeper barb. Finally, turn the hook and insert the point back into the belly of the swimbait, ensuring the body is perfectly straight. The hook point should rest just under the plastic on the back for a weedless presentation.
- Expected Outcome: A perfectly straight, weedless swimbait that has a natural kicking action and a slight body roll on the retrieve. This is a staple of swimbait rigging basics.
Step 2: The Open-Hook Jig Head Rig
Ideal for open water, suspended fish, or when you need a faster sink rate and maximum hook-up percentage. The exposed hook makes it less suitable for heavy cover.
First, select a jig head where the weight and hook size are appropriate for your swimbait. A good starting point is a 1/4 oz head with a 3/0 hook for a 3.8-inch swimbait. Hold the jig head next to the swimbait to visualize where the hook point will exit the back. Insert the hook point into the nose of the bait and thread the plastic all the way up the hook shank until the nose is snug against the jig head. The bait must be perfectly straight to prevent it from spinning.
Step 3: The Underspin Rig
This method adds flash and vibration, making it deadly in stained water or for targeting aggressive fish. It’s a variation of the jig head rig.
The process is identical to rigging a standard jig head, but you’ll use a specialized underspin jig head that features a small willow-leaf blade attached to a swivel on the bottom. The key is to ensure the swimbait is rigged straight so it doesn’t impede the blade’s rotation. These swimbait rigging techniques are excellent for covering water and calling fish from a distance. The added flash from the blade often triggers reaction strikes from bass that might otherwise ignore a standard swimbait.
Expert Tips & Best Practices for swimbait rigging methods
Following best practices elevates your swimbait game from amateur to expert. These swimbait rigging tips will help you refine your approach and adapt to changing conditions, ensuring you get the most out of your swimbait tackle.
For Beginners:
- Always Rig it Straight: This is the golden rule. Before every cast, check that your soft plastic swimbait is perfectly straight on the hook. Any slight bend will cause it to spin unnaturally. A drop of super glue on the hook keeper can help hold it in place.
- Match Hook Size to Bait Size: A common beginner mistake is using a hook that’s too small or too large. A good rule of thumb is for the hook to exit the bait around the halfway point or slightly further back, giving it room to collapse on a bite without impeding the tail’s action.
- Start with a Jig Head: For learning the feel of a swimbait, an open-hook jig head is fantastic. It provides a direct connection and excellent hook-up ratio in open water, helping you build confidence in the technique.
For Advanced Users:
- Custom Weighting Systems: Experiment with nail weights or suspend strips to alter the fall rate and action of your swimbaits. Adding a nail weight to the belly of a soft swimbait can help it track deeper, while adding one to the head can give it a nose-down posture on the pause, mimicking a feeding baitfish.
- Stinger Hook Modifications: For large soft swimbaits or when dealing with short-striking fish, adding a stinger treble hook is a game-changer. This advanced technique involves using braid or wire to attach a small treble hook from the main hook eye back to the rear of the bait, significantly increasing your landing percentage on bigger lures.
5 Common swimbait rigging methods Mistakes to Avoid
Even seasoned anglers can fall into bad habits. Avoiding these common mistakes in your swimbait rigging methods is crucial for consistent success and will save you from frustrating, fishless days on the water.
Mistake #1: Rigging the Swimbait Crooked
The Problem: This is the most frequent and fatal error. A swimbait that is not perfectly aligned on the hook shank will spin, cartwheel, or glide unnaturally on the retrieve, repelling fish instead of attracting them.
The Solution: Take your time. Lay the hook alongside the bait before rigging to mark where the hook point should enter and exit. After rigging, hold the bait by the line tie and let it hang; if it lists to one side, it’s crooked. Re-rig until it hangs perfectly straight.
Mistake #2: Using the Wrong Hook Size or Style
The Problem: Using a hook with a gap that is too narrow for a thick-bodied swimbait will result in a terrible hook-up ratio. On the strike, the plastic will wad up in the hook gap and prevent penetration.
The Solution: Always use an Extra Wide Gap (EWG) hook for thicker swimbaits. For slimmer baits, a standard offset worm hook might work. The goal is to have ample space between the hook point and the plastic body when it collapses.
Mistake #3: Incorrect Weight Selection
The Problem: Using a weight that is too heavy causes the bait to fall unnaturally fast and can kill its subtle action. A weight that’s too light may prevent you from reaching the desired depth or maintaining bottom contact.
The Solution: Match your swimbait weights to the depth and conditions. Start light and go heavier only as needed. In shallow water (under 10 feet), a 1/8 oz or 3/16 oz weight is often sufficient. In deeper water or current, you may need 1/2 oz or more.
Advanced swimbait rigging methods Strategies for 2024/2025
As technology and techniques evolve, so do swimbait rigging methods. Staying ahead of the curve with these cutting-edge strategies will give you a distinct advantage, especially on highly pressured bodies of water.
Integrating Forward-Facing Sonar (FFS)
With the rise of FFS like Garmin LiveScope, anglers can now see how fish react to their bait in real-time. This technology allows for on-the-fly adjustments to your swimbait rig setups. If you see a fish follow but not commit to a standard jig head rig, you can quickly switch to a lighter weight for a slower, more tantalizing fall. Or, you can add a nail weight to make the bait dart downwards on a pause—a movement that often triggers a reaction strike from a hesitant fish you are watching on screen.
The Owner Beast Hook with Screw-Lock
This isn’t a new hook, but its application in advanced swimbait rigging methods continues to expand. The screw-lock keeper (like Owner’s CPS – Centering Pin Spring) ensures the head of your soft plastic swimbait stays perfectly seated, cast after cast. For 2024/2025, anglers are modifying these hooks by adding underspin blades or using them for line-through soft baits. This provides a durable, perfectly aligned presentation that maximizes lure life and action, making it one of the most reliable swimbait rigging techniques for expensive, hand-poured baits.
Essential Tools & Resources for swimbait rigging methods
Having the right tools and knowledge sources makes executing precise swimbait rigging methods much easier. These items should be a part of every serious swimbait angler’s arsenal.
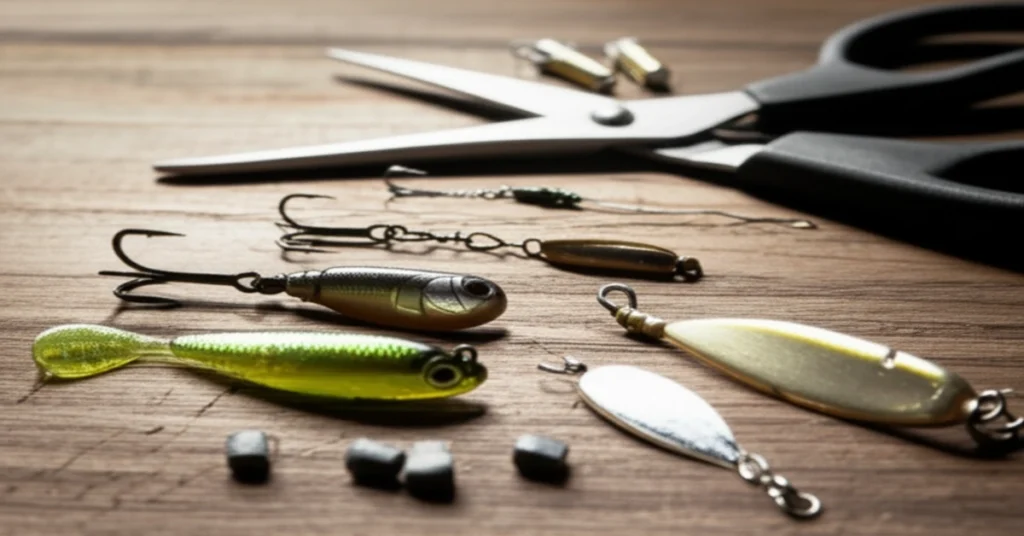
Recommended Tools:
- Braid Scissors: A pair of sharp, high-quality scissors is non-negotiable for cleanly cutting braided line and fluorocarbon swimbait leaders.
- Split Ring Pliers: Essential for changing out treble hooks on hard swimbaits or adding stinger hooks. They save time and prevent injury.
- Super Glue (Gel Control): A small tube of gel super glue is a secret weapon. A tiny drop on your hook keeper or screw-lock will keep your soft plastic perfectly in place, preventing it from sliding down the shank.
Additional Resources:
- YouTube Channels: Anglers like TacticalBassin’ and Ben Milliken provide exceptional visual demonstrations of swimbait rigging techniques and how they apply in real-world scenarios.
- Online Forums: Websites like Swimbait Universe and the forums on BassResource.com have dedicated communities where anglers share advanced swimbait rigging tips and custom modifications.
Frequently Asked Questions About swimbait rigging methods
Q1: What is the most important part of my swimbait rig setups?
Answer: While every component matters, the most critical element across all swimbait rigging methods is ensuring the swimbait is rigged perfectly straight on the hook. A crooked bait will not swim correctly, rendering all other aspects of your swimbait tackle—from expensive swimbait leaders to perfectly chosen swimbait weights—ineffective. This is the foundation of all good swimbait rigging techniques and the first thing you should master from any swimbait rigging guide.
Q2: When should I use a swimbait leader?
Answer: You should almost always use a leader when fishing swimbaits, especially with a braided main line. A 12-24 inch section of fluorocarbon (typically 15-25 lb test for bass) provides near-invisibility in clear water and offers superior abrasion resistance around rocks, wood, and docks. It also has less stretch than monofilament, providing a good balance of shock absorption and sensitivity. A good leader is a key part of your swimbait tackle.
Q3: How do I choose the right weight for my swimbait?
Answer: Your weight selection depends on three factors: depth, current, and desired rate of fall. For shallow water (less than 10 feet), start with a 1/8 oz or 1/4 oz weight. For deeper water (10-25 feet), move to a 3/8 oz or 1/2 oz weight. In current, you’ll need a heavier weight to maintain bottom contact. The key is to use the lightest weight possible that still allows you to control the bait at the desired depth; this typically results in the most natural action.
Q4: Can I use the same rig for all types of swimbaits?
Answer: No, different swimbaits require different rigging. A hollow belly paddle tail is best on a weighted, wide-gap hook. A solid body swimbait works well on a jig head. A large, multi-jointed hard swimbait comes with its own treble hooks. Understanding these swimbait rigging basics is crucial; matching the rig to the bait style is a fundamental skill.
Conclusion: Master swimbait rigging methods for Long-term Success
Mastery of swimbait rigging methods is not an option—it’s a necessity for any angler serious about catching bigger fish. As we’ve detailed, the way you rig your bait directly influences its action, effectiveness, and your overall success on the water. From the foundational weedless rig to advanced stinger hook modifications, each technique serves a purpose.
By applying the principles in this guide, you are building a critical skill set that will pay dividends for years to come. Continue to experiment with different swimbait rig setups, refine your swimbait rigging techniques, and pay close attention to the details of your swimbait hooks and swimbait weights. The future of angling will reward those who understand these nuances, so embrace these swimbait rigging methods and watch your confidence and your catch rate soar.
Related Articles You Might Find Helpful:
- A Complete Guide to Swimbait Tackle for Trophy Bass
- Choosing the Best Swimbait Leaders for Clear Water
- Advanced Swimbait Rigging Techniques for Pressured Fish
What’s Your swimbait rigging methods Experience?
What is your go-to swimbait rig? Share your favorite setup or a rigging tip that has worked wonders for you in the comments below!
Note: This guide reflects current best practices and is updated regularly to ensure accuracy. Last updated: [Current Date]