Swimbait Rigging Methods: The Ultimate Guide for 2024
Ever watched your expensive swimbait spiral and tumble unnaturally through the water, completely ignored by the monster bass you know is lurking nearby? This frustrating experience is often the direct result of improper setup, not a bad lure. Mastering the diverse world of swimbait rigging methods is the single most important skill that separates novice anglers from seasoned pros who consistently land bigger fish. This comprehensive guide will transform your approach, teaching you the essential techniques to make any swimbait swim with irresistible, lifelike action. We will cover everything from the fundamentals to advanced strategies, ensuring you have the confidence to tackle any fishing scenario.
This isn’t just another list of knots; it’s a deep dive into the art and science behind making a piece of plastic or resin come alive. By understanding the nuances of different swimbait rigging methods, you gain a powerful advantage. You’ll learn how to perfectly balance your bait, select the ideal components for specific conditions, and troubleshoot common issues on the water. Get ready to unlock the full potential of your swimbait arsenal and start converting follows into explosive strikes.
Table of Contents
- What is swimbait rigging methods?
- Key Benefits and Importance
- Complete Step-by-Step Guide
- Expert Tips & Best Practices
- Common Mistakes to Avoid
- Advanced Strategies for 2024/2025
- Essential Tools & Resources
- Frequently Asked Questions
What is swimbait rigging methods?
Swimbait rigging methods refer to the various techniques used to attach a hook, weight, and leader to a swimbait to optimize its presentation and action in the water. It’s about more than just preventing the lure from falling off; it’s about precisely controlling how the bait swims, its depth, and its weedless capabilities. The right method can make a swimbait look like a real, vulnerable baitfish.
Understanding these different approaches is fundamental to success. The choice of swimbait hooks, the placement of swimbait weights, and the type of swimbait leaders all dramatically influence the outcome. This swimbait rigging guide explores the core swimbait rigging basics, providing a foundation for building effective swimbait rig setups. Each component of your swimbait tackle works in concert, and mastering these swimbait rigging techniques is a continuous process of refinement. The goal of any swimbait rigging methods is to achieve the most realistic action possible.
Key Components
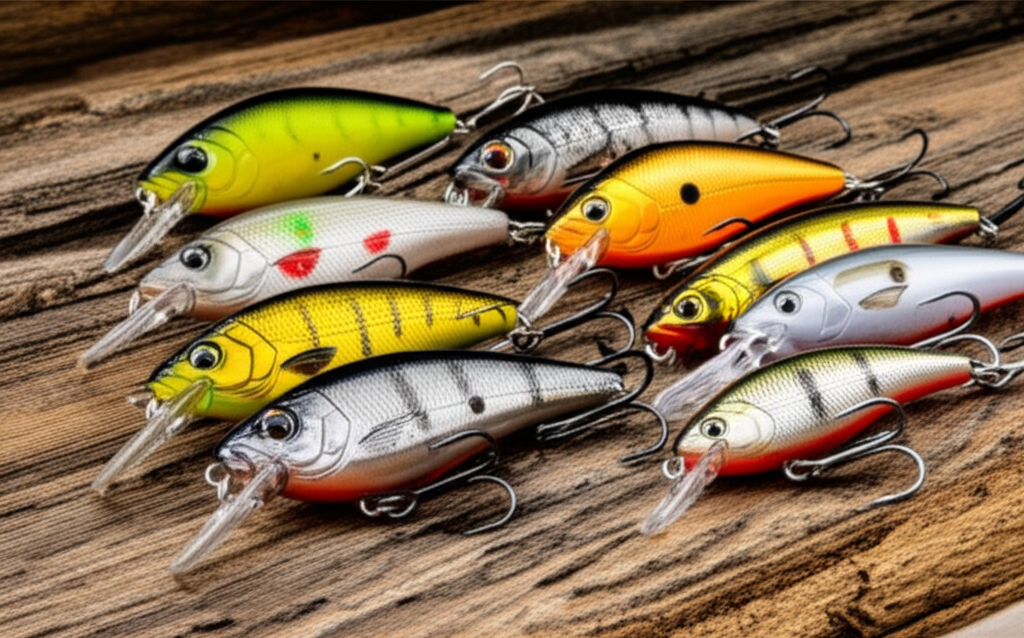
- The Swimbait: The body of the lure, which can be a hard, soft, or multi-jointed design. Its shape and material dictate which rigging methods are most effective.
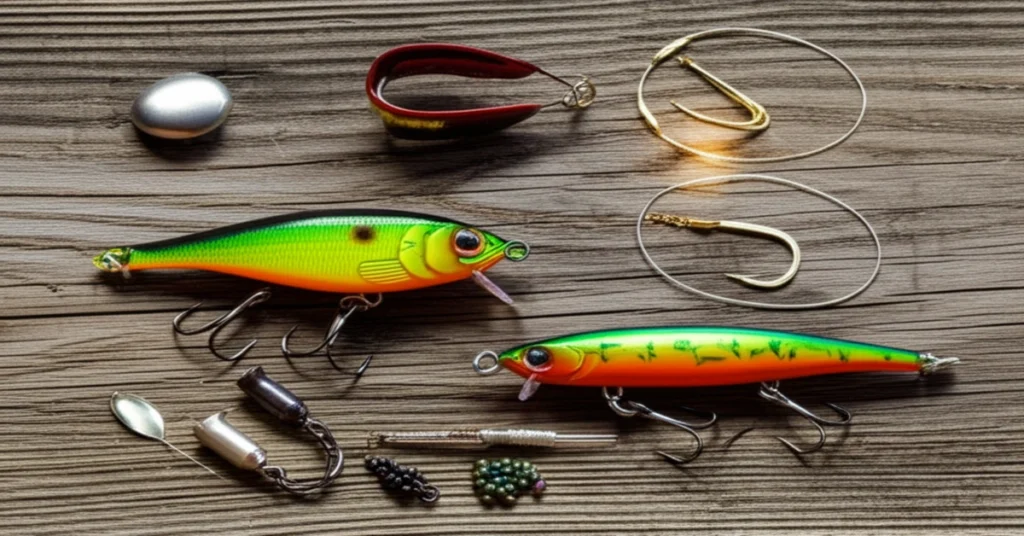
- The Hook: The business end of the rig. The choice between a jig head, a belly-weighted EWG (Extra Wide Gap) hook, or a stinger treble hook is a critical decision in all swimbait rigging methods.
- The Weighting System: This can be internal, external (like a bullet weight), or built into the hook. Swimbait weights control the lure’s depth and rate of fall, a cornerstone of effective swimbait rigging techniques.
- The Connection: This includes your line, knots, and potentially swimbait leaders. Using a fluorocarbon leader, for example, can increase strikes in clear water by reducing visibility.
Why swimbait rigging methods Matters: Key Benefits
Properly applying swimbait rigging methods directly translates to a higher catch rate. Industry studies and angler reports consistently show that a natural presentation is the number one factor in triggering strikes from large, wary predators. When a swimbait is rigged correctly, it moves and behaves like real prey, overcoming a fish’s natural skepticism. The wrong rig can make even the most expensive lure look fake and unappealing.
Enhanced Realism and Action
The primary benefit of mastering swimbait rigging methods is achieving a perfect, lifelike swimming action. A correctly rigged soft swimbait will have a subtle body roll and a rhythmic tail kick. A multi-jointed hard bait will glide smoothly with an S-shaped motion. For example, using a belly-weighted hook with a screw-lock on a soft swimbait keeps the head perfectly aligned, preventing the unnatural spinning that spooks fish. This meticulous attention to detail is what convinces a trophy bass to commit.
Versatility Across Conditions
Knowledge of various swimbait rig setups allows you to adapt to any environment. A weedless Texas-rigged swimbait can be fished through thick grass and submerged trees where an exposed-hook rig would constantly snag. Conversely, an open-hook jig head setup offers a superior hook-up ratio in open water. Being able to switch between these swimbait rigging methods on the fly means you can effectively target fish no matter the cover, depth, or water clarity. It transforms your swimbait from a single-purpose lure into a versatile fish-catching system.
“The rig is 50% of the presentation. You can have the best lure in the world, but if it’s not rigged to swim right for the conditions, you’re just wasting your time. Mastering swimbait rigging methods is non-negotiable for serious anglers.”
Complete Guide to swimbait rigging methods – Step-by-Step
Let’s walk through one of the most popular and versatile swimbait rigging methods: the weedless, belly-weighted hook rig. This is a must-know setup for fishing soft plastic swimbaits around cover. Following this process ensures your bait runs true every time. This is one of the most important swimbait rigging basics to learn.
Step 1: Select Your Components
Matching your swimbait tackle is crucial. The goal is balance. A hook that’s too big will kill the bait’s action, while one that’s too small will result in poor hook-ups. This is a foundational step in all swimbait rigging techniques.
- Choose Your Swimbait: For this example, we’ll use a 5-inch paddle tail swimbait like a Keitech Swing Impact FAT or a Reaction Innovations Skinny Dipper.
- Select the Right Hook: A 5/0 or 6/0 weighted EWG (Extra Wide Gap) screw-lock hook is ideal. The weight (e.g., 1/8 oz or 1/4 oz) depends on the desired depth and swimming speed. These swimbait hooks are specifically designed for this purpose.
- Prepare Your Line: A 15-20 lb fluorocarbon line or a braid-to-fluorocarbon leader setup is perfect. Fluorocarbon is nearly invisible underwater and offers great abrasion resistance.
Step 2: Attach the Hook to the Swimbait
This is the most critical part of the process. A straight rig is a successful rig. Even a slight misalignment will cause the swimbait to spin or roll unnaturally, which is a common failure in many swimbait rig setups.
First, twist the screw-lock spring firmly into the nose of the swimbait until the bait is snug against the hook’s eye. Ensure it is perfectly centered. Next, lay the hook alongside the swimbait body to gauge where the point will exit. It should come out of the center of the back. Mark this spot with your thumbnail. Finally, insert the hook point into the belly of the bait and guide it up and out through the spot you marked on the back. Ensure the bait lies perfectly straight on the hook shank.
Step 3: Tex-Pose the Hook for Weedless Presentation
To make the rig truly weedless, you must protect the hook point. After the point has exited the back of the swimbait, pull the plastic forward slightly and bury the hook point back into the top layer of the plastic. The point should be covered but not deeply embedded. This technique, often called “Tex-posing,” allows the rig to slide through grass and wood without snagging but enables the hook to pop out easily when a fish bites down. This final touch is one of the most valuable swimbait rigging tips for fishing heavy cover.
Expert Tips & Best Practices for swimbait rigging methods
Following best practices elevates your swimbait game from guesswork to a precise science. Consistent application of proven swimbait rigging tips ensures your lure performs at its peak potential on every cast, which is the objective of all swimbait rigging methods.
For Beginners:
- Start with Pre-Rigged Baits: To understand how a swimbait should swim, buy a few pre-rigged options. This gives you a performance benchmark to aim for when you start rigging your own. This is a great way to learn swimbait rigging basics.
- Use Super Glue: A small drop of super glue on the screw-lock or where the plastic meets the jig head can dramatically increase the durability of your soft plastic swimbait, saving you money and time.
- Match Hook Size to Bait Width: A simple rule is that the hook gap should be about twice the width of the swimbait’s body. This ensures there is enough space for the plastic to collapse and the hook point to penetrate the fish’s mouth.
For Advanced Users:
- Custom Weighting with Nail Weights: For ultimate control over the bait’s sink rate and action, use unweighted hooks and insert small nail swimbait weights into the belly or head of the soft plastic. This allows for super-slow, horizontal falls that can be deadly on suspended fish.
- Utilize a Stinger Hook: On larger swimbaits (8 inches and up), bass often swipe at the tail. Adding a “stinger” or “trailer” treble hook to the back of the bait can convert these short strikes into landed fish. This is an advanced technique within swimbait rigging methods.
5 Common swimbait rigging methods Mistakes to Avoid
Avoiding common pitfalls is just as important as learning the correct techniques. A small mistake in your rigging can render your entire presentation ineffective. Here are five frequent errors anglers make with their swimbait rigging methods and how to fix them.
Mistake #1: Rigging the Swimbait Crooked
The Problem: This is the number one cause of failure. If the swimbait is not perfectly straight on the hook shank, it will spin, roll, or glide off to one side during the retrieve, looking completely unnatural.
The Solution: Take your time. After inserting the hook, hold the rig up and look at it from every angle—top, bottom, and sides. If it looks even slightly bent or kinked, remove the hook and start over. A straight rig is a prerequisite for good action.
Mistake #2: Using the Wrong Hook Size or Style
The Problem: A hook that is too large and heavy will kill the swimbait’s subtle body roll. A hook that is too small or has a narrow gap will result in the plastic balling up on the hook point during a hookset, leading to a missed fish.
The Solution: Follow manufacturer recommendations or the “twice the width” rule of thumb. Invest in quality swimbait hooks specifically designed for these applications, like Owner Beast Hooks or Gamakatsu Weighted Monster Hooks.
Mistake #3: Overlooking the Importance of Swimbait Leaders
The Problem: Tying heavy braided line directly to a swimbait, especially in clear water, can be a deal-breaker for line-shy fish. Braid is highly visible underwater.
The Solution: Always use a fluorocarbon leader of at least 2-3 feet. Fluorocarbon has a refractive index very close to that of water, making it nearly invisible. Use a reliable connection knot like the FG Knot or a Double Uni Knot to connect the braid and leader.
Mistake #4: Mismatched Weighting
The Problem: Using swimbait weights that are too heavy causes the lure to plummet to the bottom unnaturally. Using weights that are too light prevents you from reaching the desired depth or maintaining bottom contact in current.
The Solution: Start with the lightest weight you can get away with for the conditions. For a 5-inch swimbait in 10 feet of water, a 1/8 oz or 3/16 oz weight is often a perfect starting point. Adjust up or down based on wind, current, and depth.
Mistake #5: Choosing the Wrong Retrieve Speed
The Problem: While not strictly a rigging issue, it’s directly related. Many anglers retrieve their swimbaits too fast, causing them to roll over or blow out, especially with lighter rigs.
The Solution: Find the “sweet spot.” Start your retrieve as slowly as possible while still feeling the tail kick. You can often feel this through your rod tip. The best swimbait rigging methods are complemented by the correct retrieve speed to create the most lifelike presentation.
Advanced swimbait rigging methods Strategies for 2024/2025
As you become more comfortable with the basics, you can explore cutting-edge swimbait rigging methods that give you an edge, especially on highly pressured waters. These advanced swimbait rigging techniques are gaining popularity among tournament professionals for their unique actions.
The Tokyo Rig Swimbait
This rig is a game-changer for fishing swimbaits just above bottom-level grass or debris. The setup involves a specialized hook with a rigid wire dropper. You slide a weight onto the wire and then bend the end to lock it in place. The result is a swimbait that hovers a few inches off the bottom, directly in the strike zone of feeding fish, while the weight ticks along the bottom. This keeps your swimbait out of the muck and gives it a unique, free-swimming action that fish haven’t seen. It’s one of the more innovative swimbait rig setups to emerge recently.
The Stinger Hook Harness Rig
For large, expensive soft baits (like Huddlestons or Megabass Magdrafts), a single hook can lead to heartbreaking losses when a fish grabs only the back half of the bait. An advanced solution is to create a stinger hook harness. This involves using heavy monofilament or wire to attach a sharp treble hook near the tail of the swimbait, which is then connected to the main hook’s eye. This ensures that no matter where the fish bites, it finds a hook. This is a top-tier tactic among serious swimbait rigging methods for trophy hunting.
Essential Tools & Resources for swimbait rigging methods
Having the right swimbait tackle and resources makes applying these methods far easier and more effective. A well-prepared angler is a successful one. This list of tools is a great starting point for anyone serious about mastering swimbait rigging methods.
Recommended Tools:
- Split Ring Pliers: Absolutely essential for changing hooks on hard baits or adding stinger hooks. They make a frustrating task quick and simple.
- High-Quality Braid-Cutting Scissors: A clean cut on braided line is necessary for tying strong knots. Standard clippers won’t do the job effectively.
- Super Glue (Gel Control): A must-have for securing soft plastics to jig heads and screw-locks, dramatically extending the life of your baits.
Additional Resources:
- YouTube Channels: Channels like TacticalBassin offer incredibly detailed video tutorials on virtually every swimbait rigging technique imaginable. Visual learning is key.
- Manufacturer Websites: Brands like Owner, Gamakatsu, and swimbait companies often provide a detailed swimbait rigging guide specific to their products, including recommended hook sizes and styles.
Frequently Asked Questions About swimbait rigging methods
Q1: What are the best swimbait hooks for different swimbait rig setups?
Answer: The best swimbait hooks depend entirely on the technique. For weedless rigging of soft plastics, a screw-lock EWG hook is king. For open water and vertical presentations, a classic jig head provides a solid connection and a different action. For large hard baits, upgrading stock hooks to premium, super-sharp trebles like the Gamakatsu G-Finesse or Owner STX is a wise investment. The core of any good swimbait tackle kit is a diverse selection of hooks.
Q2: How do I choose the right swimbait weights?
Answer: Choosing swimbait weights is a balance of depth, desired fall rate, and action. For a slow, natural presentation in shallow water (under 10 feet), a 1/8 oz or 3/16 oz weight is ideal. For deeper water, fishing in current, or wanting a faster retrieve, step up to 1/4 oz, 3/8 oz, or even heavier. The key is to use the lightest weight possible that still allows you to maintain contact with your bait and reach the target depth effectively. This is a critical aspect of all swimbait rigging methods.
Q3: When should I use swimbait leaders, and what kind is best?
Answer: You should use swimbait leaders almost always when fishing with braided main line, especially in water with more than a few feet of visibility. Fluorocarbon is the best choice for leader material because it’s strong, abrasion-resistant, and nearly invisible underwater. A 15-20 lb test leader is a great all-around choice for bass fishing with medium-sized swimbaits.
Q4: What are the absolute swimbait rigging basics every beginner should know?
Answer: The most crucial swimbait rigging basics are: 1) Always rig your swimbait perfectly straight to ensure a natural swimming action. 2) Match your hook size to your bait size to optimize action and hook-up ratio. 3) Learn one versatile rig, like the weedless belly-weighted hook, and master it before moving on to more complex swimbait rig setups. These fundamentals are the building blocks for all advanced swimbait rigging techniques.
Conclusion: Master swimbait rigging methods for Long-term Success
Mastering the diverse array of swimbait rigging methods is not just a technical skill; it’s a fundamental shift in how you approach lure fishing. It empowers you to adapt to any condition, present your bait with maximum realism, and ultimately unlock the potential for catching bigger, smarter fish. The difference between a good day and a great day on the water often comes down to these crucial details.
As lure designs evolve and new challenges arise, a deep understanding of swimbait rigging methods will remain a timeless asset. By applying the principles in this swimbait rigging guide—from selecting the right swimbait hooks and swimbait weights to executing perfect swimbait rigging techniques—you are investing in your long-term angling success. Now, take these insights, apply them with precision, and watch your confidence and your catch rate soar.
Related Articles You Might Find Helpful:
- The Ultimate Swimbait Rig Setups for Clear Water
- How to Choose the Perfect Swimbait Tackle for Any Situation
- Advanced Swimbait Rigging Tips from the Pros
What’s Your swimbait rigging methods Experience?
What is your absolute go-to swimbait rig, and what’s the biggest fish you’ve caught on it? Share your favorite setups and tips in the comments below!
Note: This guide reflects current best practices and is updated regularly to ensure accuracy. Last updated: October 17, 2023